Who says your culinary adventures should be confined indoors? Let’s be real—grilling in the backyard while sipping a cold drink is basically the adult version of a treehouse. But building an outdoor kitchen? That’s where things get interesting. Lucky for you, we’ve tackled more outdoor projects than we can count (shoutout to our team at America Green Builders here in Los Angeles). Whether you’re a DIY warrior or someone who’d rather leave the heavy lifting to pros, we’ve got your back. Let’s break this down, step by step.
Step 1: Dream Big, Plan Bigger
Before you start eyeballing that fancy pizza oven on sale, let’s talk logistics. What’s your vision? A simple grill station? A full-blown entertainment hub with a margarita bar? (We’re not judging.) Here’s what to consider:
- Space: Measure your yard like you’re auditioning for a home renovation show. Pro tip: Leave room for traffic flow. Nobody wants to play bumper cars with a platter of ribs.
- Layout: The classic “work triangle” (grill, fridge, prep area) isn’t just for indoor kitchens. Keep things efficient unless you enjoy marathon walks between your steak and the seasoning.
- Utilities: Gas, water, electricity—oh my! If you’re adding plumbing or wiring, call a pro (cough like us at America Green Builders cough). Trust us, YouTube tutorials won’t save you here.
FYI, if you’re in Santa Clarita or Mission Hills, local zoning laws might have opinions about your project. A quick chat with a general contractor can save headaches later.
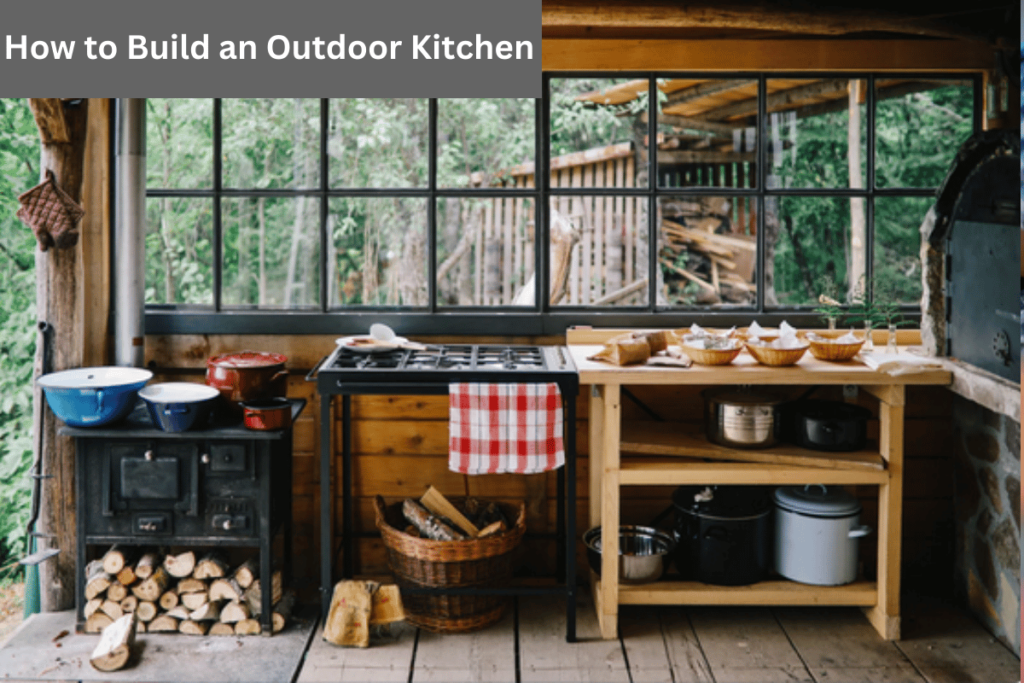
Step 2: Materials That Can Take the Heat (Literally)
Your indoor cabinets won’t survive a summer in L.A., let alone a rogue rainstorm. Opt for weather-resistant materials:
- Countertops: Granite, concrete, or stainless steel. Skip the marble unless you want a “weathered” look (read: stained).
- Flooring: Porcelain tile or stamped concrete. Grass is cute until someone spills bacon grease.
- Cabinetry: Marine-grade polymer or powder-coated aluminum. Wood is so 2010.
And hey, if you’re reusing materials from a recent bathroom remodel or garage conversion, props to you! Sustainability for the win.
Step 3: Appliances—Where Fun Meets Function
Let’s talk gear. Your wish list might include:
- A grill (obviously)
- A smoker (for the brisket enthusiasts)
- A mini-fridge (because warm beer is a crime)
- A sink (unless you enjoy sprinting indoors to wash parsley)
Budget alert: Prices range from “IKEA-friendly” to “Are you kidding me?!” Set a realistic budget early. Our team’s seen folks in Los Angeles drop anywhere from $5k to $50k+ depending on their champagne taste.
Step 4: Hire the Right Squad (or Go Rogue)
Here’s where things get spicy. You could DIY this, but unless you’re secretly a building contractor, you might end up with a Pinterest fail. Consider hiring an outdoor living contractor for:
- Complex electrical/plumbing work
- Custom builds (like that pizza oven you’ve been drooling over)
- Permitting and inspections
And hey, if you’re Googling “home contractors near me,” we’re biased, but America Green Builders has rave reviews for a reason. We’ve handled everything from room additions to kitchen remodels—outdoor kitchens are our jam.
Step 5: Budget Like a Pro
Let’s talk numbers without crying, shall we? Here’s a rough breakdown:
| Feature | Average Cost |
|---|---|
| Basic grill station | $3,000–$7,000 |
| Mid-range setup | $10,000–$20,000 |
| Luxury outdoor kitchen | $25,000+ |
Hidden costs? Permits, landscaping, and that “oops, we need more counter space” moment. Always pad your budget by 15%—because life happens.
Step 6: Avoid These Facepalm Moments
We’ve seen it all. Don’t be the person who:
- Forgets shade. The California sun is relentless.
- Skips lighting. Unless you enjoy grilling by iPhone flashlight.
- Ignores storage. Where else will you stash your 10 types of BBQ sauce?
FAQs (Because We Know You’re Curious)
Q: Do I need a permit?
A: In most of Los Angeles? Yes. Your construction company can handle this—don’t wing it.
Q: How long does it take?
A: 4–8 weeks, depending on complexity. Delays happen, so channel your inner zen master.
Q: Will this add value to my home?
A: Absolutely! Outdoor kitchens are a top home improvement service for boosting resale value.
Final Thoughts: Let’s Get Cooking!
Building an outdoor kitchen is equal parts thrilling and terrifying. But with smart planning, sturdy materials, and maybe a little help from your friends at America Green Builders, you’ll be hosting backyard fiestas in no time.
Ready to turn your yard into the ultimate hangout? Give us a call—we’re not just home contractors, we’re outdoor kitchen whisperers. And hey, if you’re still on the fence, remember: Life’s too short for boring burgers. Let’s build something amazing.
