Let’s face it—home security shouldn’t feel like rocket science. Whether you’re tired of missing deliveries or just want to keep an eye on porch pirates (we see you, sneaky bandits), installing a Ring Doorbell is a game-changer. And guess what? It’s easier than assembling IKEA furniture. No cryptic instructions or missing screws here—just straightforward steps to get you sorted. Oh, and if you’re in Los Angeles and ever need help with bigger projects like a bathroom remodel or garage conversion, our buddies at America Green Builders are the general contractors you’ll want on speed dial. More on that later—let’s tackle that doorbell first!
What You’ll Need: Tools & Supplies
Before we play electrician, let’s round up the essentials. Trust us, scrambling mid-project for a screwdriver is not the vibe. Here’s your checklist:
- Ring Doorbell (obviously)
- Screwdriver set (Phillips head, preferably)
- Drill & drill bits (for stubborn walls)
- Level (because crooked cameras are so 2005)
- Wi-Fi password (write it down—no shame here)
- Optional: Voltage tester (if you’re replacing an old doorbell)
FYI, if you’re swapping out an existing doorbell, turn off the power at your breaker. Unless you enjoy surprise light shows, in which case… carry on.
Step 1: Mounting the Bracket
Let’s get physical! Well, physically installing the bracket, anyway.
A. Choose Your Spot
Most folks mount their Ring near the front door, about 48 inches off the ground. Want to catch faces, not knees? Position it at eye level. Pro tip: Avoid spots with direct sunlight or motion-triggering shrubs—unless you enjoy 3 AM alerts about your rosebush.
B. Drill, Baby, Drill
Mark your holes, grab the drill, and channel your inner Bob Vila. Use the level to keep things straight. If you’re drilling into brick or stucco (looking at you, Santa Clarita homes), switch to a masonry bit. Stuck? America Green Builders, our go-to construction company in LA, jokes that “concrete fights back—so bring your A-game.”
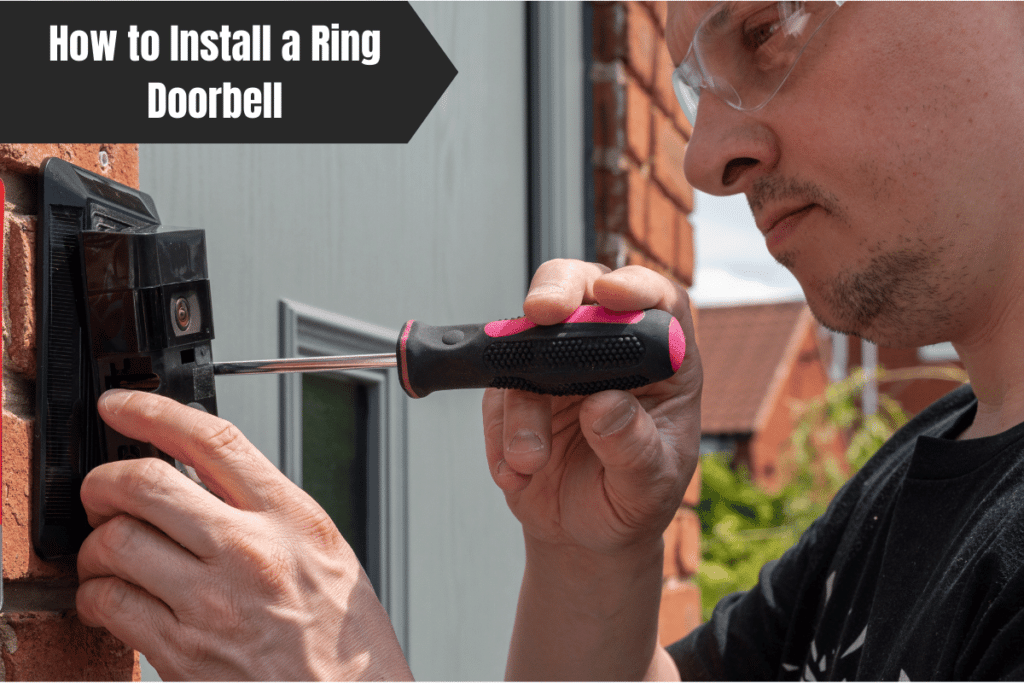
C. Secure the Bracket
Screw it in tightly, but don’t Hulk-smash it. The Ring should snap into place effortlessly.
Step 2: Wiring & Power
Here’s where things get slightly technical. Don’t panic—we’ve got you.
A. Hardwired vs. Battery-Powered
- Hardwired: Connects to existing doorbell wires. Steady power, no charging needed. Ideal if you’ve got wiring in place.
- Battery-Powered: Perfect for rentals or avoiding electrical work. Just pop it out to recharge every few months.
B. Connect the Wires (If Hardwiring)
Strip the ends of your existing doorbell wires, loop them around the screws on the Ring, and tighten. Double-check the breaker’s off—seriously.
C. Snap the Doorbell Into Place
Line up the grooves, push gently, and click—you’re in business.
Step 3: App Setup & Customization
Time to make it smart! Download the Ring app, create an account, and follow the prompts. Here’s the fun part:
- Connect to Wi-Fi: Your password’s your golden ticket.
- Adjust Motion Zones: No need to alert the neighborhood every time a leaf blows by.
- Test the Camera: Do a little dance in front of it. We won’t judge.
Common Issues (And How to Fix Them)
Even the best DIY projects hit snags. Here’s a quick cheat sheet:
| Issue | Solution |
|---|---|
| Weak Wi-Fi Signal | Move your router closer or invest in an extender. |
| False Motion Alerts | Tweak sensitivity settings in the app. |
| Battery Drains Quickly | Reduce motion alerts or switch to hardwired. |
When to Call the Pros
Look, we get it—some projects are best left to home contractors. Installing a Ring is DIY-friendly, but if you’re also juggling a kitchen remodel or room addition, why not multitask smarter? America Green Builders in Los Angeles handles everything from outdoor living spaces to full home improvement services. Their reviews speak for themselves, and their cost estimates are refreshingly transparent.
Fun fact: They helped a client in Mission Hills turn a dusty garage into a home gym and added a patio—all while the homeowner binge-watched Netflix. Now that’s efficiency.
3 Burning Questions, Answered
1. “Can I install a Ring Doorbell without an existing doorbell?”
Absolutely! The battery-powered version works standalone. Just charge it every 1–2 months.
2. “Will this work if I rent my place?”
Yep! Use the removable adhesive bracket for a landlord-friendly setup.
3. “Do I need a subscription for video storage?”
Only if you want to save recordings long-term. Otherwise, live view is free.
Why Stop at a Doorbell?
Once you’ve nailed the Ring install, why not tackle bigger wins? Maybe that bathroom remodel you’ve been pinning on Pinterest or a garage conversion to finally build that home office. If you’re searching for “building contractor near me,” America Green Builders is your answer. They’re local, licensed, and—dare we say—way more fun than your average construction company.
Final Thoughts
Installing a Ring Doorbell is like giving your home a pair of eyes—minus the creepy vibes. Follow these steps, and you’ll be snooping on delivery guys (politely, of course) in no time. And hey, if you ever need backup for larger projects, you know who to call. Now go forth, protect your porch, and maybe finally catch that neighbor who keeps “borrowing” your Amazon packages.
P.S. Seriously, check out America Green Builders for your next project. Tell ’em we sent you—they’ll probably laugh, but hey, it’s worth a shot.
